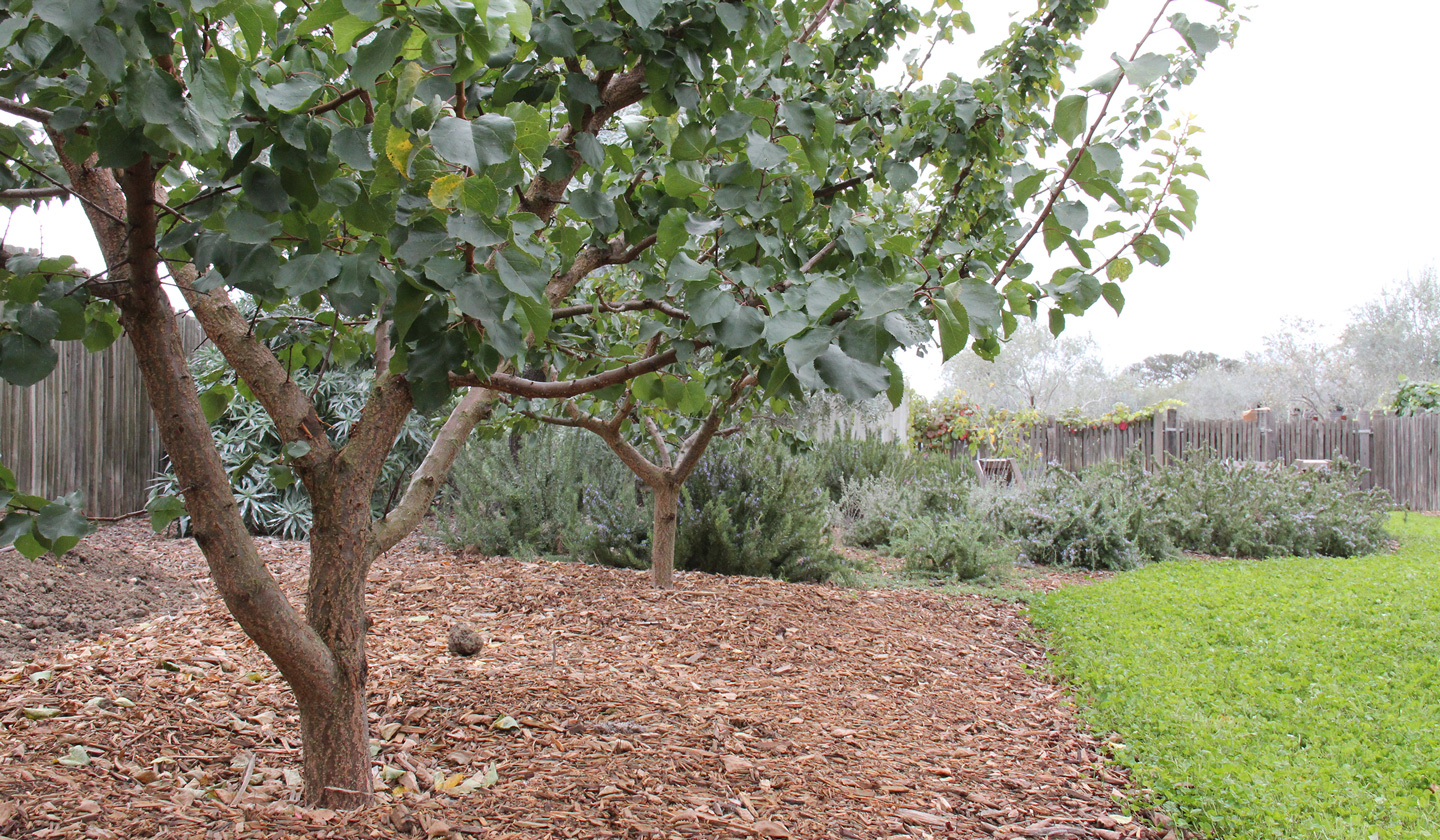
Prune @ Planning

First Year Care


During your fruit tree's first year in the ground, it is very important that it grows well. What is 'well'? In essence, you are trying to double or triple the tree's size; in the second year, once again you want to see the tree double or triple in size. This happens through proper watering, soil fertility management, and pruning (see below). Once the tree has grown to fill its allotted space, then we let it begin fruiting.  In other words, knock off any fruit that forms on the tree during the first two years.  I know this can be hard on the psyche, but the gifts of patience are plentiful.  Fruiting uses up essential nutrients that the tree needs to form a strong structural foundation, which will enable it to bear more fruit later on.  So, for the entire first 2 years we give the tree as much strength to grow as we possibly can.

First year care calendar


Winter Spring Summer Fall
Plant trees and top dress following the instructions above   Start watering your trees BEFORE your soil dries out, usually by the end of April Train limbs Clean up any diseased or insect laden leaves or branches
Set up irrigation system Feed your trees with an organic fruit tree fertilizer, April 1st and June 1st, if your trees are not growing very quickly Keep an eye out for insect infestation and take the appropriate actions Sow cover crop
Prune and train your trees accordingly Watch for ants crawling up your trees: if so, apply Tanglefoot to the trunk of the tree Maintain a strict watering schedule  
  If aphids or any other soft-bodied insects show up spray them with neem oil, safer soap, spinosad, or any other organic pest control material    
  Train young branches in the direction you would like them to grow    
  Knock off any fruit that develops    


Branched trees:

There are many training styles, but here we will discuss 2 different tree forms:

Open Center (for all stone fruit, apples, or pears)

This form is one of the easiest to create with your fruit trees. It consists of 3-6 primary branches growing

from the trunk at 65 degree angles, creating an open center or vase form. Each primary branch will be spaced horizontally from its neighbor to ensure easy light penetration and picking.

Modified Central Leader (apples and pears)

This form consists of multiple teirs of branches. With the lower tier always growing wider than the top tier, it forms a pyramidal shape. We recommend growing 2 tiers with the bottom tier consisting of 5-8 branches and the top tier consisting of 3-5 branches. Growing a third tier usually starts to get a little tall. The bottom tier's branches will extend 5-7' from the trunk, while the upper tiers branches will extend 2-4' from the trunk. The beauty of this form is that 70-80% of your yield will come from the lower tier, and only 20-30% in your upper tier. This means less ladder work! Make sure that you create a 2' gap in between tiers where there are no branches coming from the trunk. This will ensure greater light penetration to the lower branches.


Training:

Don't worry if your branches are in the wrong place, train them young, when they are very malleable, to grow in the direction you wish by using string and stakes, or a spreader.


stakes or spreader for fruit tree pruning fruit tree branch training


Follow below for a step by step guide for pruning your newly planted tree:


Open Center Tree Form

-When choosing a tree, look for multiple branches moving away from the trunk at a 65 degree angle.

-More branches equals more options for you to choose your main 3-6 scaffold branches.

-Don't worry if you can't find a multi-branched tree; once in the ground, the tree will grow the branches it needs.


-Select 3-6 primary branches, spaced vertically on the trunk and horizontally spaced apart from one another.

-Use your training tools to adjust branches, as needed. Remember that this is your opportunity to build the main structure of the tree.


-Remove all unwanted branches so all that remain are the chosen 3-6 primary branches.

-In general, head back each primary branch by 1/2 its length.

-If the tree is small and has thin branches, head back each primary 3/4 of its length; if the tree is robust and thick, head it back 1/4 of its length.  Remember that the more you cut, the more it will grow.

-When pruning, cut 1/4-1/2" above a bud to decrease the risk of die back.

-Think of the bud as a directional arrow so that when you are pruning for growth, always prune to a bud facing the direction you want the tree to grow.

-This is an open center tree with 4 primary branches that have been pruned.

- As the tree grows in the spring, adjust the limbs so that they grow in the right direction: out and away from the trunk and its neighbors.

-Remove any unwanted shoots in the spring.

Modified Central Leader

-Select a tree with many branches growing off of the trunk at 45 degree angles.

-The more branches the tree has, the better because this will give you more options to choose from.

-Don't worry if your tree doesn't have that many branches- they will grow.

-Look for 5-8 branches spaced evenly around the tree- vertically and horizontally.

-Remove all other branches.

-Adjust any limbs that may need to move a little to the right or left; or up or down.

-Head all selected branches to stimulate growth.

-Generally, remove 50% of the branch.

-If the branch is thin and weak, head back 75%.  If the branch is thick and robust, head back 25%.

-Cut to a bud pointing in the direction of desired growth.

-Be sure to head the central leader 18' above the top branch.

-This photo depicts a pruned modified central leader tree with 8 primary branches.

-In the tree's first spring, adjust the limbs as they start growing and remove any unwanted growth.